Category: Router
Using a Wood Router/Spindle


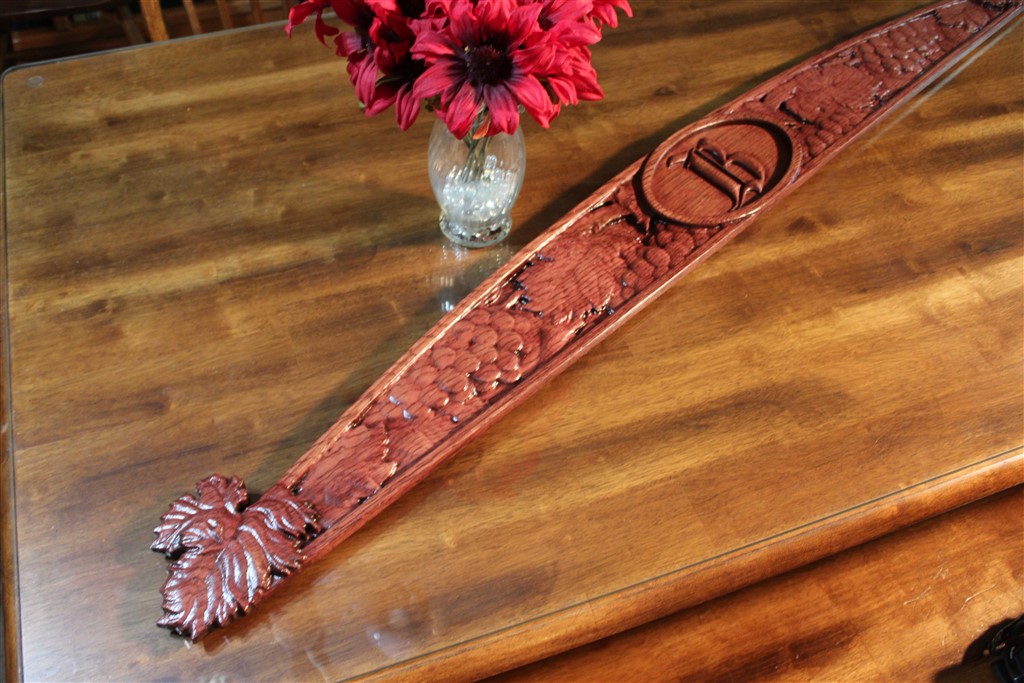
The pictures below are the Topper I made for my dining room. The inserts (there are six per set) are magnetically held in. It was designed to change out for the season or event. Notice the backside hole to put a finger through to pop the section loose from the magnet for a change-out. We are starting out with four sets and see where it goes.
The center Hummingbird is also a change-out. I have our initials to sub out for the Hummingbird.
As of these pictures, there is no finish on it yet. Stay tuned for pictures of the oak rod to be stained with a dark finish.

Actual 3D cutting. Usually, a ball nose bit is used with a fractional step-over per pass to achieve an even surface of cut in the Z axis.
As a rule, this is done with a 3-axis machine. The limitation is that Z is only Vertical.
A 5-axis machine (normally seen as a large arm that articulates in five directions. These are normally referred to as robotic arms. Click here for a you-tube search for robotic arms to see some examples. Normally the Z can come from almost any direction including from the bottom up. i.e. A cut under a wooden rose petal to give it even more of a 3d appearance.
Categories
Orosco Table Restoration
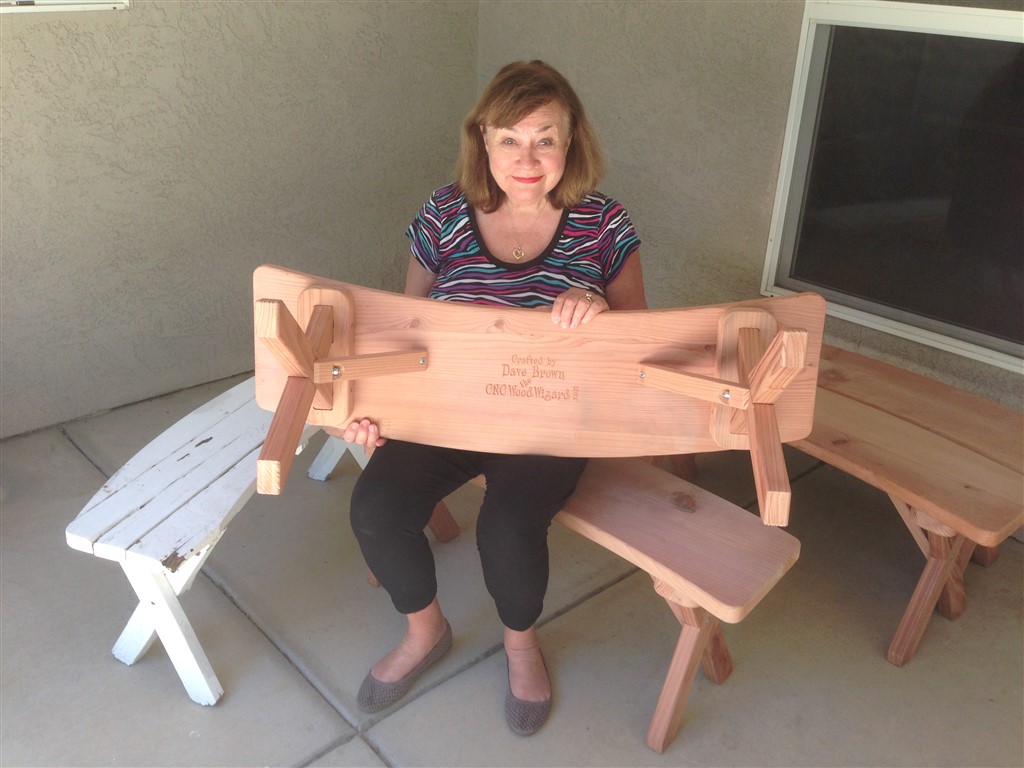
Above are the before pictures of the table needing to be restored. All we need are some new curved benches to match.
Below is the finished restoration.
Infrastructure below the surface boards were replaced to make a more stable top surface. The tabletop was then surfaced with the CNC 1-1/2″ planer bit to flatten the surface. An ogee bit was used to give the edge a more decorative look back to the original look.
Benches were created from new wood and cut on the CNC Router. The new legs for the benches were bolted together for sturdiness. Also notice the spinner caps on the wheels cut separately and attached to the outside of the wheel. Not to forget, I sanded everything for the Orosco’s to finish with the paint you see in the pictures below.
Bernard Brown asked me to cut this gigantic Domino!

[slickr-flickr search=”sets” set=”72157694579155770″ items=”60″ type=”slideshow”]
Kitchen Corner Cornice & Cross
Kinn and Betty Wilkenson Kitchen Sink Corner Cornice and Cross With End Brackets.
The two white patches imbedded into each side of the cornice is a Lithophane, one each of Betty on the left side and Kinn on the right side. Since a lithophane requires light to shine through it to see the picture, it is difficult to see the end result of the lithophane on this web page when a flash camera on the inside of the physical location in the house cancels the backlighting of the picture. (It’s physics getting in the way of my presentation on this site.)
Be sure to Click Here to view the power supply solution for the backlight to the lithophanes.
See en.wikipedia.org/wiki/Lithophane for a description of a Lithophane